How To Build a Wooden Fence
Build your own fence with this comprehensive DIY guide. We walk you through every step, from initial planning and material selection to final installation, providing expert advice to help you create a personalized fence that enhances your property.
WHAT TO KNOW BEFORE YOU START
It's a good idea to make sure your fence isn't breaking any rules before you start building, you don't want all your hard work going down the drain.
You're good to put up a fence as high as 2.5m without needing a permit, but it's smart to double-check with your local council first. If you're fencing on the boundary, have a chat with your neighbour about the look and when you plan to kick things off.
Make sure you know exactly where your property ends. If you can't find the boundary pegs, ask the council for a copy of your plans. Take a look at your plans & physically check to see where any pipes and underground wires might be – sometimes they're not on the plans.
HOW MUCH DOES IT COST TO BUILD A FENCE?
Costs of building a fence in NZ depends on things like materials, length, and labour. Going for simpler designs and DIY’ing it yourself can cut down the overall expense. Planning and budgeting are key for a successful project.
STYLE
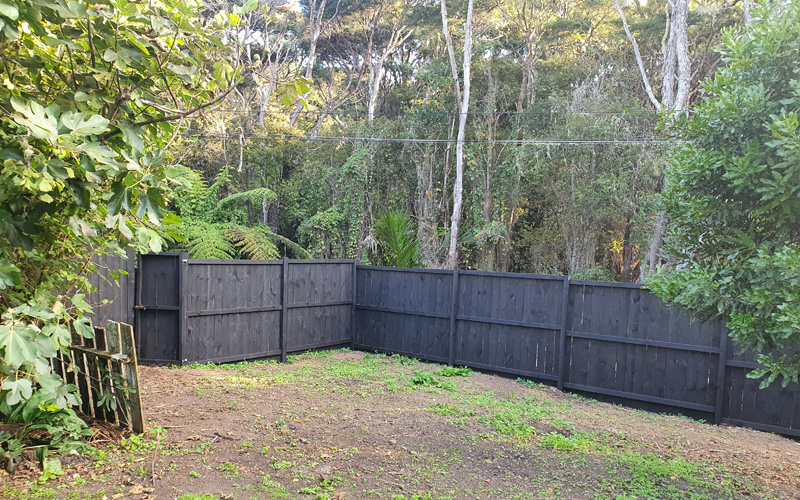
Before you jump into building, take a bit of time to check out the different styles of wooden fences. There's a bunch of options like picket, lattice, concave, convex, board on board, shadowbox and more, each with its own variations. It's worth noting that each style has specific rules on how the fence should be built and where the boards should go. In this blog, we will be making a vertical board fence.
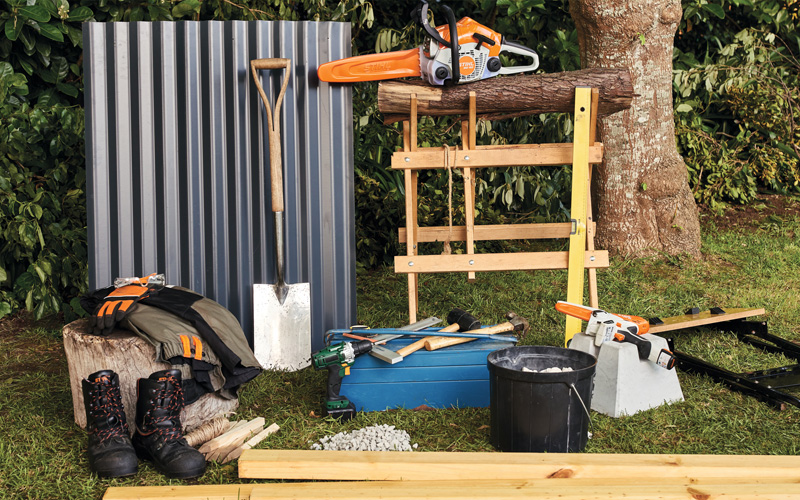
MUST-HAVE TOOLS AND MATERIALS FOR BUILDING A VERTICLE BOARD FENCE
Before kicking off your project, gather up material you will need - H4 treated timber that is suitable for fence posts (these will be posts that go in the ground and are the foundation of the fence ) and H3 treated timber for your horizontal support boards or rails that fit between the posts. You will also need to select your perferred style of pickets (vertical boards). When selecting your timber, you can use either rough or smooth timber, however, rough timber will need more stain coats.
You will also need concrete for strong foundations, and top-notch nails for a solid build. Don't forget to grab measuring tools, a level, and some PPE to keep yourself safe. Quick tip on concrete - there are many concrete mixes so get one that you can mix easily.
The right power tools will speed up the process including a good cordless drill, chainsaw, circular saw, table saw or mitre saw. An earth auger will make digging the holes faster and easier but a spade also works.
Take a look at our Earth Auger range here.

STIHL Cordless Battery Chainsaws are some of the lightest in our range and the best part is, they are ready to go in seconds, no fuel to mix just push the button and go! STIHL Cordless Battery Chainsaws are also very quiet, so quiet you don't even need to wear ear muffs, and they have no exhaust which make them perfect for projects around the home. View our Cordless Battery Chainsaw range here.
-
 STIHL MSA 190 T Battery Chainsaw Tool (No battery & charger)Special Price $845.00 Regular Store Price $995.00
 -
 STIHL MSA 160 Battery Chainsaw Tool (No battery & charger)Special Price $475.00 Regular Store Price $525.00
 -
 STIHL MSA 200 C-B Battery Chainsaw Kit (With Battery & Charger)
Special Price $1,135.00
-
 STIHL MSA 220 C-B Battery Chainsaw Kit (With Battery & Charger)
Special Price $1,255.00
-
 STIHL MSA 300 Battery Chainsaw Tool (No Battery & Charger)Special Price $1,115.00 Regular Store Price $1,315.00
 -
 STIHL MSA 161 T Battery Chainsaw Tool (no battery & charger)Special Price $535.00 Regular Store Price $685.00


STEP BY STEP GUIDE ON BUILDING A FENCE
Now that we’ve got the regulations, tools and materials out of the way, lets begin building!
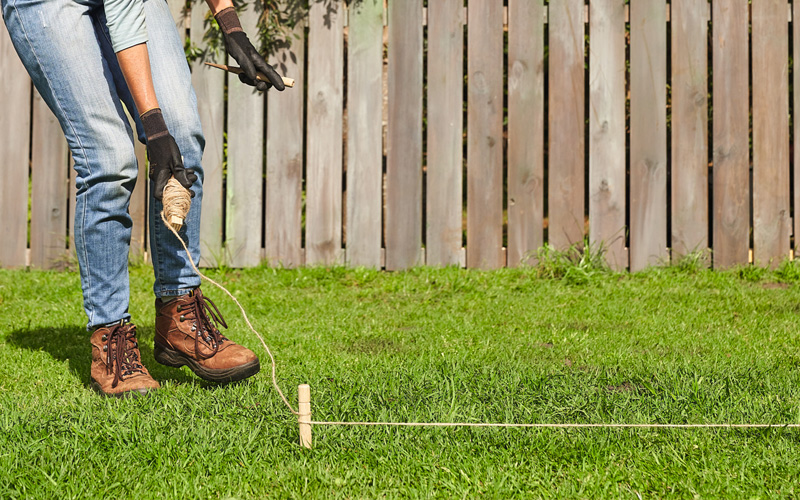
MEASURE AND LAY OUT FENCE POSTS
Measure and mark the fence line using tools like levels or string.
Stick stakes in the corners where you want your fence to be. Tie a string around the stakes and run the string between each stake so you have an idea of where the fence will be.
DIG HOLES AND PLACE YOUR POSTS
Dig or drill post holes in the locations you staked using an earth auger, shovel or spade. Make sure that the hole is 1/3 the depth that the post is to ensure stability. Place the post in the hole and using a leveller, make sure the post is straight, and is sitting at the correct height.
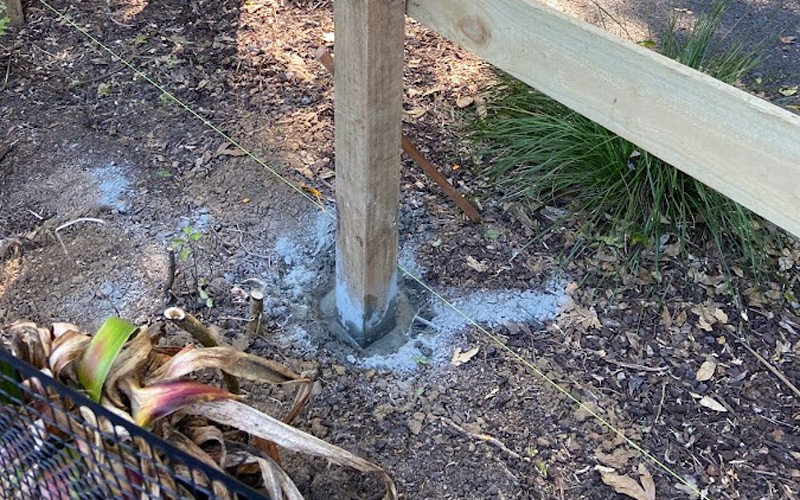
POUR CONCRETE & POSITION FENCE POSTS
Pour concrete around the posts until they are 2/3 full, and carefully check that each post is level and properly aligned. This ensures a solid foundation for the fence post. Once the concrete has set, fill the remaining 1/3 with dirt.
Allow 24 hours for the concrete to set.
ATTACH PANELS TO FENCE POSTS
To achieve a level fence, begin by attaching a string line at the top of the posts, running from one post to the other at an equal height. This string will serve as a guide to ensure the fence maintains a consistent height.
Cut the horizontal support boards or rails to fit between the posts. Whenever possible, go for a single rail that spans the entire length of the two posts.
Rails should be no more than 60cm apart, so most fences will have 2-3 rails. Attach the horizontal support boards or rails to the fence posts using screws.
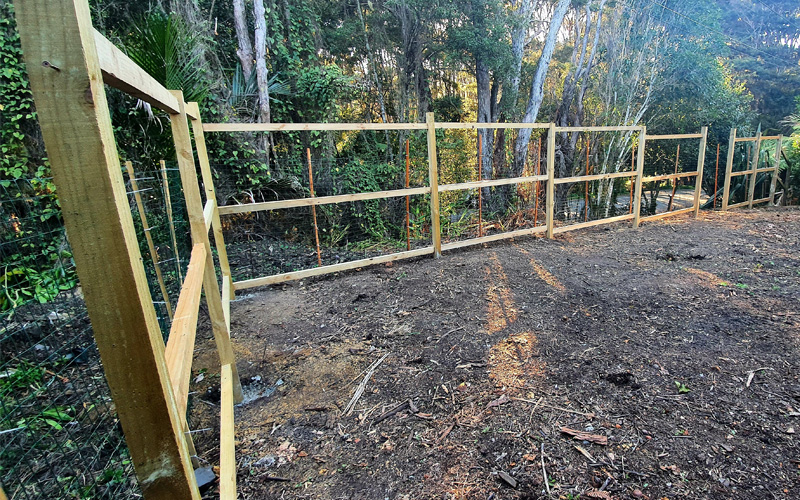
ATTACH PICKETS TO THE PANELS
Now that your support boards are ready, it's time to attach the pickets (vertical boards) to create your desired fence style.
Start by placing the first board and use a level to ensure it's vertically straight. Once aligned, nail or screw the pickets in place. Use a spacer before positioning the next picket, and periodically check for vertical alignment with the level.

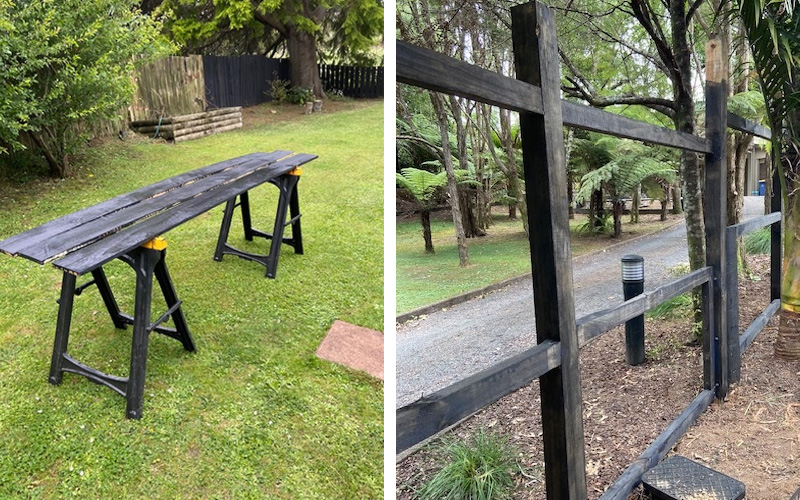
STAIN WOOD
Once you're done, it's important to treat the boards to make your fence last longer. You can choose to paint, stain, or apply a weather-proof finish to keep your fence looking fantastic for many years to come.
TIP: Do this before you begin building the fence. Doing it ahead of time lets it dry and set, so when you construct the fence, you only need to do touch-ups! If you're using black, don't be alarmed if the colour comes out blue, it will turn to black within 15 minutes.
Building a fence can be a rewarding and achievable DIY project. It's also a reflection of your personal style and craftsmanship. Happy building and enjoy the satisfaction of creating your own outdoor haven!

SUMMARY: HOW TO BUILD A FENCE
- Check local regulations, permits, and consult your neighbours before building.
- Confirm the exact property boundaries and locate underground services before digging.
- Use H4 posts and H3 rails; gather an earth auger, drill, saw, and PPE.
- Dig holes one-third the post depth; pour concrete two-thirds; allow 24 hours.
- Space rails no more than 60cm apart; secure pickets with spacers and level; pre-stain.